
Table of Contents
Create a Personal Webpage
In this tutorial, we will be teaching you how to use ECON's personal webpage templates to create your own personal webpage on the ECON website. You will be downloading and customizing these template pages using an HTML editor in order to fill the page with your personal information.
NOTE: All Job Market Candidate Sites MUST adhere to the ECON template design. An example can be found at this link.
NOTE: If you are using a non-departmental computer, click the following link for instructions to access your Z drive: FTP
Creating Your Webpage
- Unzip the downloaded templates into a folder.
- Copy the unzipped files to the “public_html” folder located in your Z drive.
Note: If “public_html” doesn't exist in your Z drive, you can create it yourself. - Your website is now active, and will be accessible on the web at the URL: http://econweb.umd.edu/~username/, where “username” is your ECON username.
Your Webpage
The files you unzipped to your Z: drive are laid out as follows:
- index.html : this is your main page, and what people see first when they visit http://econweb.umd.edu/~username
- research.html : this page can be used to enter completed and ongoing research projects
- teaching.html : this page can be used to enter classed in which you have instructed or assisted
- files : this folder is where you will place any loose files on your site (e.g. PDFs, code, spreadsheets)
- files/cv.pdf : this is where the “Curriculum Vitae” links on your pages lead to. Replace this with your own CV (but be sure to rename it to cv.pdf first).
- files/profile.jpg : this is your main page profile image. Replace this with your own picture (but be sure to save it as a JPG file, and rename it to profile.jpg first).
Editing a Page
For this purposes of this tutorial, we are going to simply be using Notepad (or any equivalent text editor) to manually change the code directly within each file. For ease of use, we have labelled each item in the HTML code with “user-created” in order to make it easier to find what you want to edit.
index.html
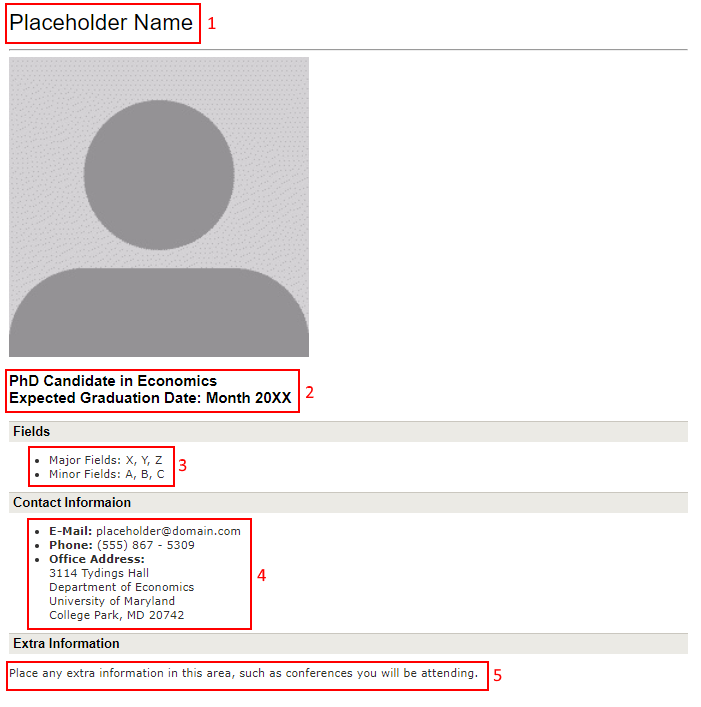
- Name (“user-created-name”): change the text within the <h1> bracket to reflect your name.
- Graduation Date (“user-created-graduation-date”): change to reflect your graduation month and year.
- Fields (“user-created-fields”): change each object within the <li> brackets to reflect your areas of study.
- Contact Information (“user-created-contact-info”): change the text to reflect your personal contact information. You will not need to change the office location, as that is where your mailbox resides.
- Extra Information (“user-created-extra-info”): change the text within the <p> brackets to reflect any extra information you wish to convey.
research.html
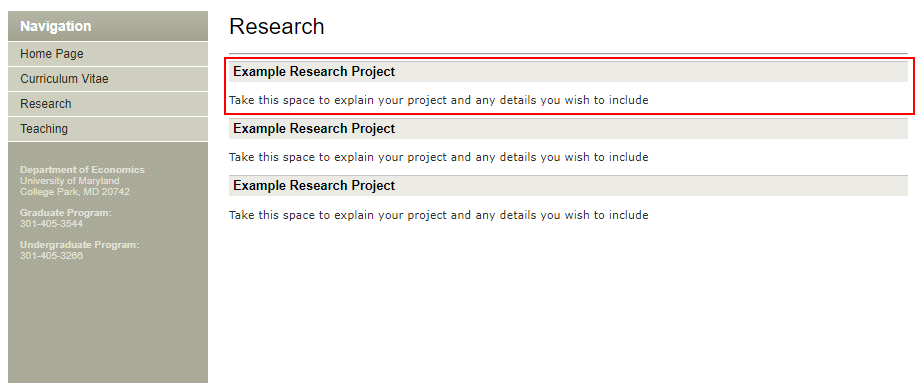
You will find the following code in the “user-created” section of your research.html file.
<div>
    <h2>Example Research Project</h2>
    <p>Take this space to explain your project and any details you wish to include</p>
</div>
- You can add as many of these divider elements to your page as needed. The template contains three by default, but you can copy and paste as you like.
- Enter the title of your research between the <h2> tags.
- Enter a description of your research within the <p> tag. You can add more <p> tags to give your description more paragraphs.
teaching.html
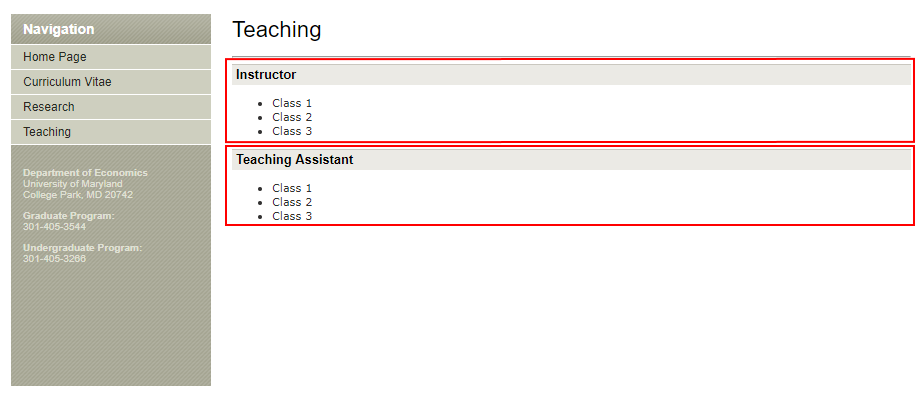
You will find the following code in the “user-created” section of your teaching.html file.
<div>
    <h2>Instructor</h2>
    <ul><li>Class 1</li><li>Class 2</li> <li>Class 3</li></ul>
</div>
<div>
    <h2>Teaching Assistant</h2>
    <ul><li>Class 1</li><li>Class 2</li> <li>Class 3</li></ul>
</div>
- There are two divider elements here: one dedicated to courses you've instructed and which you've assisted, indicated by the text within the <h2> tags.
- Each class is indicated by the <li> tag. There are three by default, and you can change the text within them. Add more <li> elements as needed within the <ul> brackets.
Testing Your Webpage
Open any internet browser and open the following URL: http://econweb.umd.edu/~username/ (where “username” is your ECON username).
Clearing Browser Cache
Sometimes when a change is made to your website, the page might not show the latest changes made. This is due to the browser bringing up a cached version of the webpage to save time. When the browser cache is cleared, the latest changes will appear. Press the F5 button on your keyboard to refresh the page and reload any changes.